

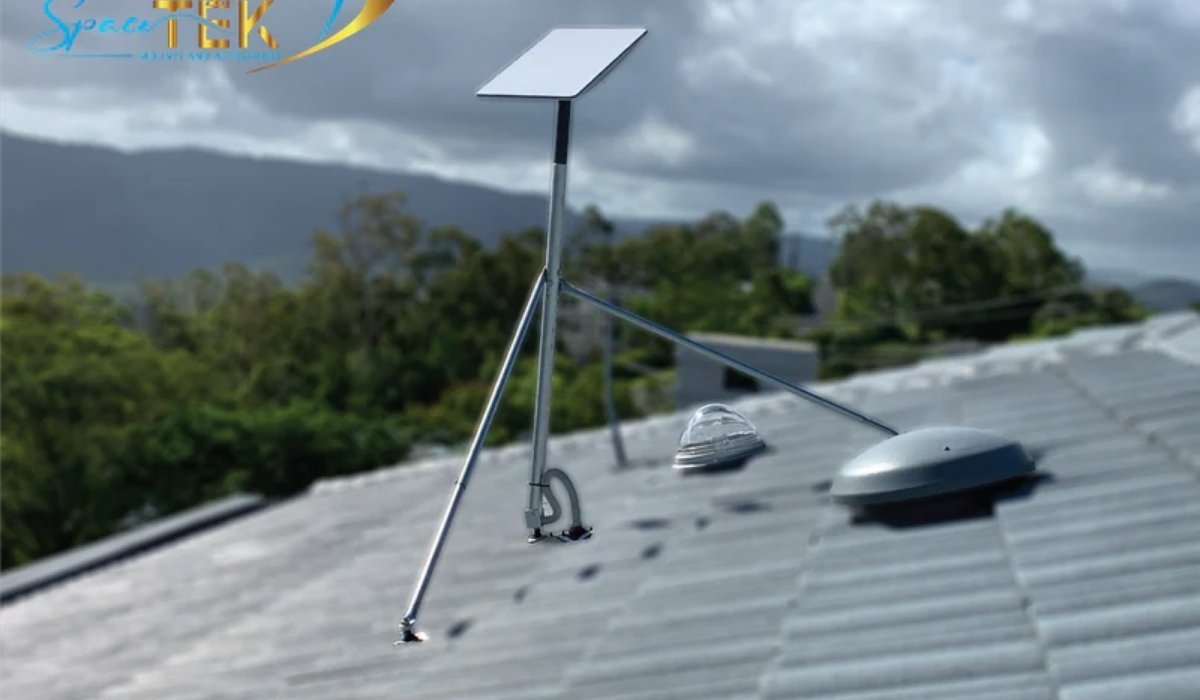
When you decide to install Starlink, you open the door to high-speed, low-latency internet powered by an advanced Low Earth Orbit satellite constellation. The process is designed to be user-friendly, allowing you to get online even in the most remote locations. Whether you are in a rural area or simply seeking a reliable backup to your terrestrial fiber, the system offers exceptional performance. Before starting, ensure you have a clear view of the sky, as obstructions like trees or buildings can impact your connection stability. Once prepared, the setup becomes a straightforward task for almost any homeowner.
| Feature | Details |
| System | Starlink Satellite Internet |
| Provider | SpaceX |
| Requirement | Unobstructed Sky View |
| Installation | DIY Friendly / Plug & Play |
| Typical Use | Remote Areas, Rural Homes, Backup |
Understanding the Starlink Satellite Technology
Starlink utilizes thousands of satellites orbiting much closer to Earth than traditional geostationary options. Because these satellites are in a low orbit, latency is significantly reduced, often dropping to around 25ms. This makes the service suitable for gaming, video calls, and streaming. When you install Starlink, you are connecting to a sophisticated mesh network that ensures continuous data delivery. The hardware includes a phased-array antenna that automatically orients itself to track satellites across the sky, maintaining a consistent link. This leap in technology provides a robust solution for those previously restricted by poor terrestrial infrastructure options.
Checking for Necessary Obstructions
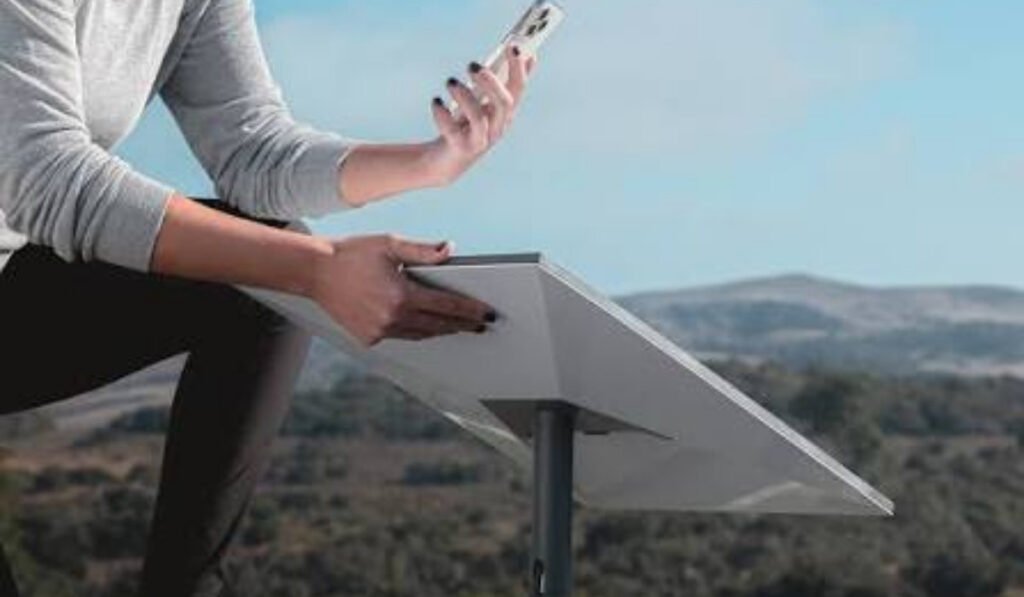
Before you install Starlink, you must identify a location that offers a wide, unobstructed view of the sky. Even minor obstacles like tree branches or rooflines can cause service interruptions or packet loss. Use the obstruction tool within the official mobile app to scan your property; it will visually highlight any areas that might cause issues. Ideally, you want to clear a 100-degree field of view to ensure the dish maintains a stable connection with moving satellites. Taking the time to perform this check prevents future connectivity headaches and ensures the best possible internet performance.
Essential Components in Your Kit
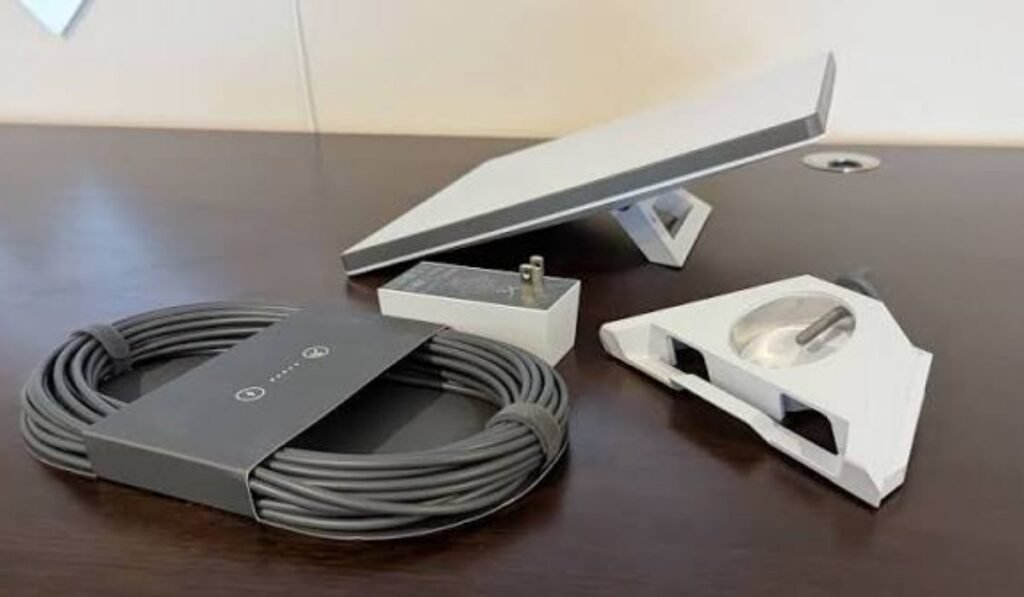
When you unpack your equipment, you will find the main Starlink dish, a router, a power supply, and the necessary cabling. The dish is the core component that communicates with space, while the router manages your local Wi-Fi distribution. Make sure all parts are accounted for according to the included guide. Having these items organized before you begin to install Starlink will save you time during the setup process. Always inspect the cables for any signs of damage before routing them, as they are essential for power and data transmission between your home and the satellites.
Choosing the Perfect Mounting Location
The location where you install Starlink plays a massive role in its performance. While a ground-level setup is possible, elevated positions such as roof ridges, chimney mounts, or tall poles often provide the best results. These high points help the antenna see over obstacles like nearby buildings or rising terrain. Ensure that the mounting surface is structurally sound and can withstand local weather conditions. A stable, secure mount prevents the dish from shifting or vibrating, which can lead to signal drops during operation. Proper placement is the foundation of a reliable and high-speed home network.
Using the Official Mobile App
The mobile app is your primary tool to install Starlink correctly. It walks you through every step, from scanning for obstructions to final alignment. Once the hardware is physically placed, the app provides real-time feedback on your connection quality. You can also use it to manage your settings, check your network health, and contact support if you run into any issues. Connecting your device to the temporary network is the first step toward getting online. Once the initial handshake is complete, you can customize your Wi-Fi name and password for added security.
Importance of Clear Line of Sight
You cannot install Starlink effectively without ensuring a clear line of sight to the sky. Satellites move rapidly, and the dish needs an uninterrupted path to maintain the connection. Even intermittent obstructions can cause buffering, dropped calls, or failed downloads. Avoid placing the dish near chimneys, overhanging trees, or walls that block a portion of the horizon. If your yard has heavy tree cover, a tall pole mount is often the only way to achieve the required signal clearance. Always prioritize a location that remains clear throughout all seasons as vegetation grows or changes.
Mounting on a Roof Ridge
Many users choose to install Starlink on a roof ridge because it offers the most symmetrical sky view. This position reduces the risk of obstructions from multiple directions and provides excellent height. Use appropriate mounting hardware designed for rooftops to ensure the setup is watertight and secure. Drilling into a roof requires caution; always use proper sealant to prevent leaks. If you are not comfortable working at heights, consider hiring a professional. A well-installed roof mount delivers the most consistent performance, keeping your dish clear of common obstacles found at lower elevations on your property.
Utilizing Chimney Mounts Safely
A chimney can be an ideal spot to install Starlink, providing a natural height advantage. However, you must assess the chimney’s integrity before attaching any hardware. Use lashing kits that wrap around the stack to avoid drilling into old brickwork or mortar, which could compromise the structure. Keep the dish away from direct flue exhaust to prevent heat damage or soot buildup. When done correctly, this approach offers a stable, elevated, and unobstructed platform. Always prioritize safety when working near chimneys, as the combination of height and potential debris makes for a challenging environment.
Installing on Wall Mounts
If you cannot use a roof or pole, a wall mount may be a suitable alternative to install Starlink. Install Starlink Choose a side of your home that has the best view of the northern or southern sky, depending on your location. The mount should be attached to a load-bearing section of the wall to ensure stability. Use high-quality screws and anchors, and remember to seal any entry points for the cable to keep out moisture. While wall mounts are convenient, ensure that the roofline doesn’t block the dish’s field of view, as this can severely limit your connection potential.
Pole Mounts for Maximum Height
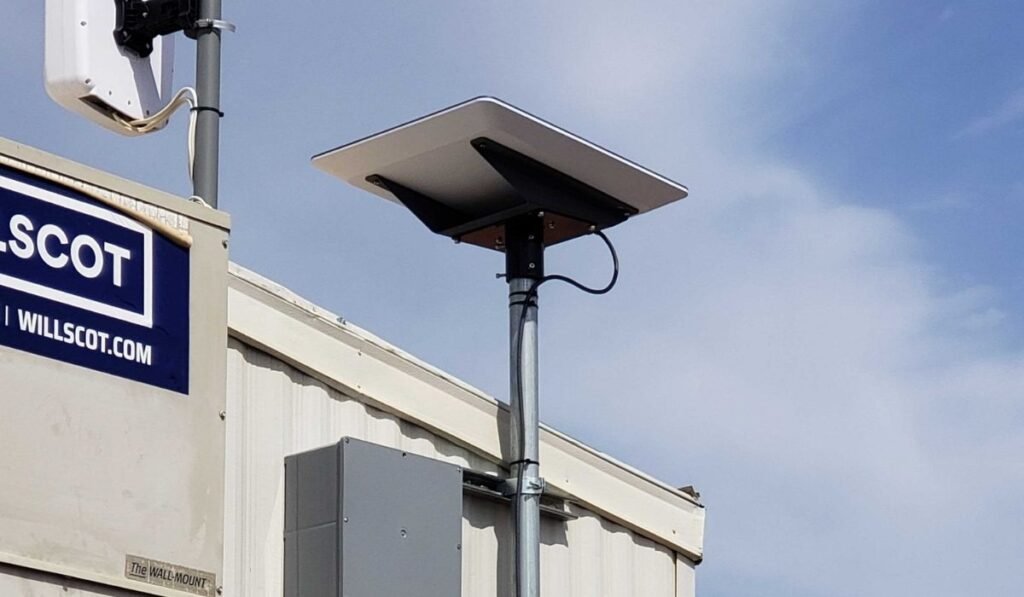
For properties with dense trees or low-lying terrain, a pole mount is often the only way to successfully install Starlink. A sturdy pole, typically 10 to 20 feet high, lifts the dish above local clutter and into clean air. Ensure the pole is firmly anchored in the ground or attached to a strong structure to prevent swaying in high winds. Use a pole with a sufficient diameter to support the weight and movement of the dish. This solution provides the best clearance possible, which is essential for stable, high-speed performance in challenging residential environments.
Cable Routing and Protection
Proper cable management is a critical step when you install Starlink. Keep your cable runs as short as possible to maintain signal integrity and reduce the risk of damage. Protect external cables from UV exposure, lawnmowers, and wildlife by securing them along walls or running them through conduits. When entering your home, create a “drip loop” to prevent rainwater from following the cable inside. This simple technique protects your interior walls and equipment from water damage. Use weather-resistant sealant on any exterior holes to keep your home protected while maintaining a clean, professional installation.
Aligning Your Dish for Success
Once you physically install Starlink, the motor-driven antenna will automatically tilt to find the optimal satellite signal. During this process, you may see the dish move as it scans the horizon. Use the alignment tool in the app to confirm that the unit is properly positioned. If you receive an alert, it may indicate a partial obstruction that needs clearing. The calibration process takes only a few minutes to complete. Once aligned, the unit should remain stable. Avoid manually forcing the dish into position, as this can damage the internal motor mechanism and void your warranty.
Powering the System Correctly
When you install Starlink, ensure your power supply is connected to a stable, grounded outlet. Do not plug the system into a heavily loaded power strip that could trip or cause voltage drops. For outdoor installations, use a weather-resistant outlet enclosure to protect the plug. The power supply should be kept in a dry, well-ventilated area to prevent overheating. Consistent, reliable power is essential for the sensitive electronics within the router and the antenna. If you notice any unusual behavior or lights, the app’s troubleshooting section can help identify potential power-related issues quickly.
Integrating Third-Party Routers
While the standard router works well for most, some users choose to install Starlink with their own third-party hardware for better coverage. To do this, you may need an ethernet adapter or specific configuration steps provided in the app. Ensure your router is set up correctly for WAN connectivity to avoid “Starlink unreachable” errors. Creating a static route can often resolve communication issues between your personal router and the dish. This level of customization is perfect for large homes or advanced users who need specific network features like VPN support, advanced firewalls, or custom DNS configurations.
Troubleshooting Common Setup Issues
If you struggle to install Starlink or cannot get online, start by checking all cable connections. A loose plug is a common culprit for connection drops. If the router light is red, verify your power source and restart the system by unplugging it for 30 seconds. Check the app for alerts regarding obstructions, which might be why the dish isn’t locking on. If you still face issues, perform a factory reset on the router using the reset button. The official support pages are also a great resource for identifying specific error codes or hardware-related problems.
Maintaining Your Equipment Long-Term
Once you install Starlink, maintenance is generally minimal, but keep an eye on the dish during severe weather. Heavy snow or ice accumulation can sometimes affect performance; the dish is designed to melt snow, but extreme build-up may require manual clearing. Keep the area around the base free of debris, leaves, or vines that could obstruct the dish’s movement. Regularly check the cable for signs of wear or UV degradation. By proactively monitoring the physical setup, you ensure that your high-speed internet remains reliable year-round, regardless of the changing seasons or environmental conditions you face.
Safety Precautions for DIYers
Safety is paramount when you install Starlink. If you are working on a roof or climbing a ladder, always use proper fall protection and have a spotter. Never attempt a high-altitude installation in windy, rainy, or icy conditions. When drilling holes, be aware of hidden electrical wiring and water pipes within your walls to avoid dangerous accidents. If you are uncertain about the structural or electrical requirements, consult a professional installer. Protecting yourself from injury is much more important than getting online a few minutes faster. Follow all local building codes and safety guidelines throughout the process.
Optimizing Network Speed and Stability
To get the most out of your decision to install Starlink, place the router in a central, open location within your home. Thick walls, metal appliances, and mirrors can interfere with your Wi-Fi signal, causing slow speeds even if the satellite connection is perfect. Use a mesh system if your home is large to ensure even coverage across all rooms. Keep your firmware updated through the app to benefit from the latest performance improvements. By optimizing both the satellite link and your internal home network, you can enjoy a truly world-class broadband experience every single day.
Future-Proofing Your Connection
As you install Starlink today, keep in mind that the service is constantly evolving. SpaceX regularly launches new, more capable satellites and releases firmware updates to improve latency and throughput. Keeping your system updated ensures you can take advantage of these technological leaps. Consider future needs as well, such as adding more devices or expanding your smart home ecosystem. A well-planned installation today makes it easier to upgrade or modify your setup tomorrow. With the right foundation, Starlink remains one of the most effective ways to access high-speed, reliable internet in any location across the globe.
Conclusion and Next Steps
When you finish your efforts to install Starlink, you will have access to a truly modern internet solution. The flexibility, speed, and reliability it offers can transform your ability to work, learn, and entertain yourself. By following these steps and paying close attention to obstruction clearance and physical mounting, you ensure years of trouble-free connectivity. If you ever need to move, the system is designed to be easily taken down and reinstalled elsewhere. Enjoy your new connection and the freedom it provides to stay linked to the digital world, no matter how remote your chosen environment may be.
- Does the dish need a clear view of the sky?
- Yes, the dish requires an unobstructed 100-degree field of view to communicate effectively with the satellites.
- Can I install Starlink by myself?
- Yes, the system is designed for self-installation using the provided mobile app to guide you through the process.
- What happens if I have obstacles like trees?
- Obstacles cause signal drops and slow speeds; you may need a taller mount or a different location to ensure success.
- Is professional help required for mounting?
- It is recommended for roof or complex pole installations to ensure safety and long-term structural integrity.
- Does the weather affect Starlink?
- The dish is designed for all-weather performance, though heavy ice or extreme storms can occasionally impact the connection.