
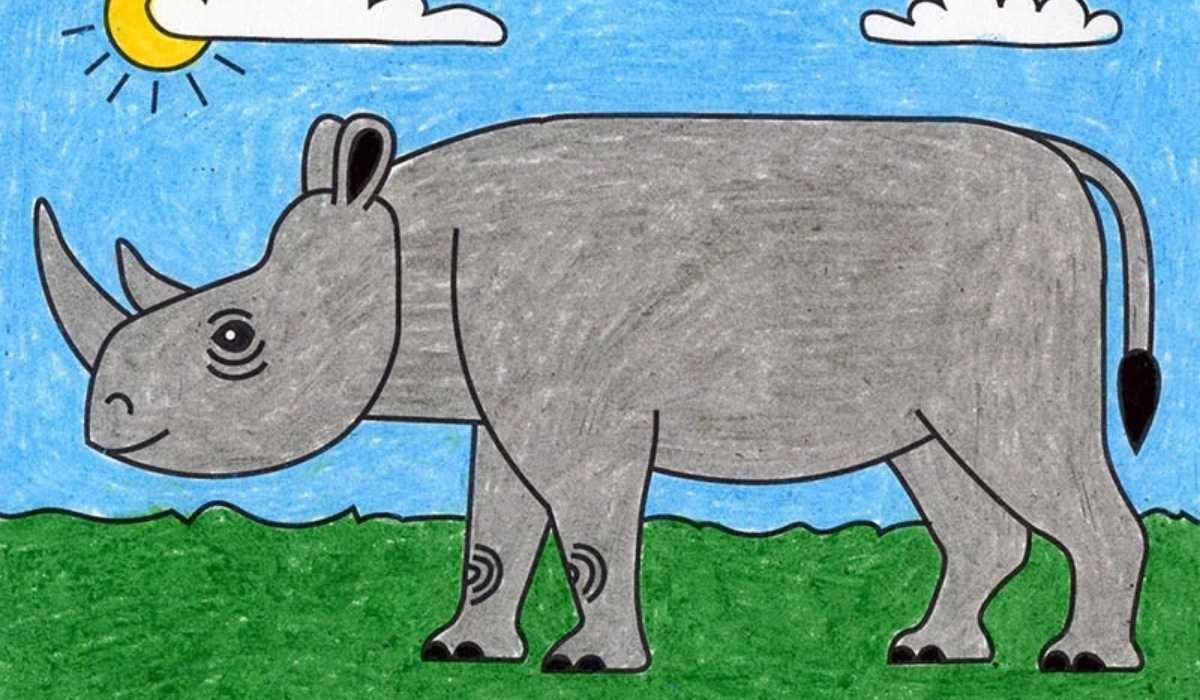
When you begin to draw a rhino, you are taking on the challenge of capturing one of nature’s most iconic and structurally complex creatures. These magnificent pachyderms possess a unique silhouette characterized by massive, bulky bodies, thick folded skin, and their signature keratin horns. Mastering the proportions of such a heavy animal requires patience and a good eye for organic shapes. Whether you are aiming for a stylized cartoon version or a detailed realistic study, the process remains rooted in breaking down complex masses into simpler geometric forms. With practice, you can confidently translate this powerful animal onto your paper.
| Feature | Details |
| Main Subject | Rhinoceros (Pachyderm) |
| Key Anatomy | Keratin horn, thick folded skin |
| Drawing Style | Geometric construction to organic detail |
| Proportions | Massive body vs. relatively shorter legs |
| Focus | Capturing weight and texture |
Start with a Construction Sketch to Draw a Rhino
Every great drawing begins with a framework. To draw a rhino effectively, start by sketching large, light geometric shapes to represent the torso and the head. The body is essentially a large, heavy rectangle with rounded edges, while the head can be mapped out as a heavy, downward-slanting wedge. Keep your lines very light so they can be easily erased or refined later. This phase is not about detail; it is about establishing the correct posture, scale, and balance of the animal’s massive frame before you commit to more permanent lines on your page.
Defining the Signature Rhino Horn
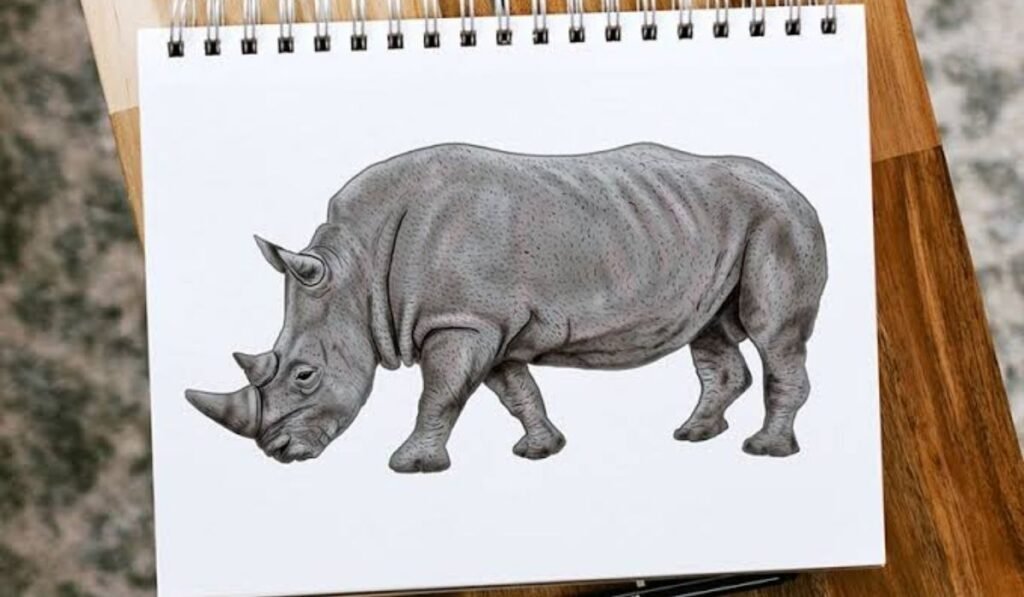
The horn is the defining feature when you draw a rhino. Located at the tip of the nose, it is made of keratin—the same material as your fingernails. When sketching it, think of it as a slightly curved cone or a long, sharp triangle. Pay attention to how the horn connects to the bridge of the nose, as it should look integrated into the skull structure rather than just stuck on top. Keep the base of the horn wide and let it taper toward a point, mirroring the natural growth pattern of this impressive and powerful nasal appendage.
Capturing the Mass of the Body
Rhinos are famous for their sheer volume. When you draw a rhino, your line work should emphasize weight. The back should appear somewhat straight but sturdy, transitioning into a thick, muscular neck. The belly often sags slightly under the weight of the massive internal structure. Avoid making the body look too light or airy; instead, use heavy, confident strokes to ground the animal. Imagine the weight pressing down toward the ground, which will help you convey the immense power and stability that these animals are known for in their natural savanna habitat.
Rendering the Relatively Small Legs
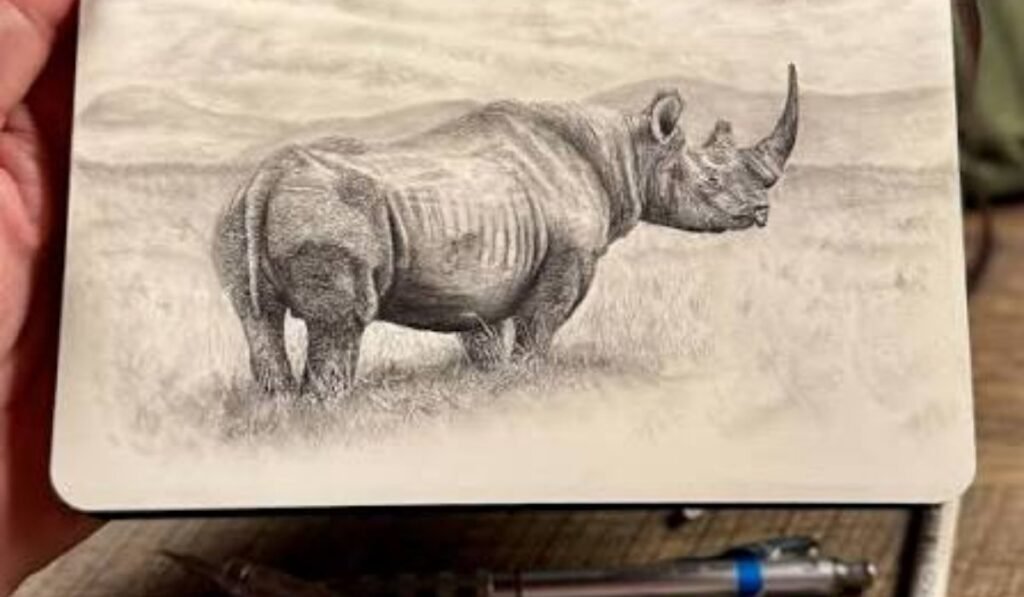
Though the body is colossal, the legs are remarkably sturdy and relatively short by comparison. To draw a rhino accurately, ensure the legs don’t look like thin sticks. They should be thick pillars that support the bulk above. The front legs are usually straighter, while the back legs often have a noticeable bend or angle at the joints. Remember that the feet widen slightly toward the ground and feature three distinct toes. Keep the legs anchored firmly to the surface to maintain the sense of realism and the animal’s natural, heavy-footed gait.
Incorporating the Thick Folded Skin
One of the most artistic challenges is the skin texture. When you draw a rhino, look for the deep, distinctive folds—especially around the neck, shoulder joints, and where the legs meet the body. These folds are not just surface lines; they suggest the thickness and flexibility of the hide. Use varied line weights to represent these wrinkles. Thicker, darker lines can emphasize the depth of a fold, while lighter, thinner lines suggest smaller cracks or surface textures. These details are what truly bring the drawing to life and make the animal feel tactile and real.
Facial Anatomy and Expression
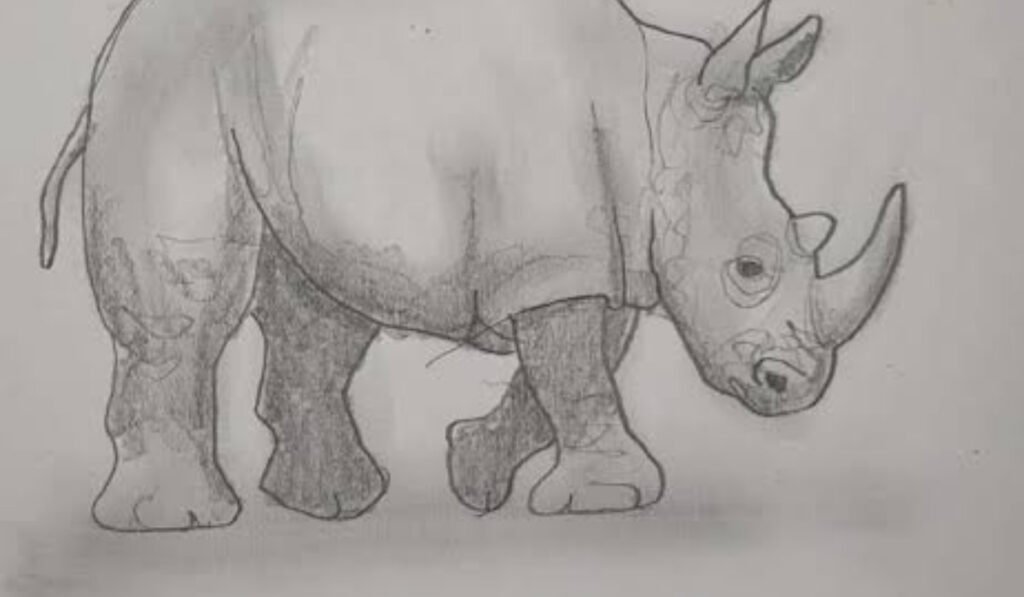
When you draw a rhino, pay close attention to the face. The eyes are small and often positioned on the sides of the head, beneath a heavy brow ridge. The ears are usually upright, somewhat oval-shaped, and quite mobile. Include the wide, sturdy mouth that these herbivores use for grazing. Adding simple wrinkles around the eyes and mouth can give your subject personality. Even in a simple drawing, the way you position the eye and the curve of the jawline will define whether the animal looks alert, calm, or aggressive in your final artwork.
Refining the Silhoutte
Once your construction lines are in place, start to solidify the outer shape. As you draw a rhino, trace over your initial guides with more decisive, organic lines. This is where you transition from “box” to “animal.” Focus on the silhouette—the overall outline of the creature against the background. A well-defined silhouette makes the drawing readable from a distance. Ensure the transitions between the back, the rump, and the tail are smooth. Refining the outline is the bridge between a messy sketch and a polished, professional illustration that truly captures the essence of the creature.
Balancing the Proportions Correctly
Proportion is everything when you draw a rhino. A common mistake is making the head too small or the legs too long. Remember that the rhino is a powerhouse of muscle and bone. Constantly check your drawing against reference images to ensure the body length relative to the leg height feels natural. If the legs feel too long, you might need to adjust the placement of the belly line. Staying flexible in your approach allows you to correct these proportions early, which is essential for creating a believable and anatomically accurate representation of the animal.
Shading for Volume and Depth
Shading is the secret to making a two-dimensional sketch look three-dimensional. When you draw a rhino, observe where the light source is coming from. Apply shadow to the underside of the belly, beneath the chin, and on the side of the body facing away from the light. Use cross-hatching or smooth, blended strokes to build up values. Shading also helps in defining the roundness of the legs and the curve of the back. By focusing on light and shadow, you transform a flat silhouette into a weighty, solid form that occupies real space on your paper.
Adding Textural Skin Details
To really elevate your work when you draw a rhino, spend time on the skin texture. While the body is mostly hairless, the skin can be rough, bumpy, and scarred. Use small dots, short dashes, and stippling techniques to suggest this coarse, leathery surface. Avoid covering the entire body in these marks; focus them around the joints and the back where the skin is most rugged. These tiny details provide a sense of authenticity, making the drawing feel less like a cartoon and more like a captured moment of a wild, living animal in its element.
Observing Real Anatomy for Better Drawings
If you want to draw a rhino with high accuracy, study real anatomy. Look at skeleton references to understand how the bones connect. Understanding where the shoulder blades are and how the hips hinge will help you draw the legs with more confidence. You don’t need to be a veterinarian, but knowing the “why” behind the shape—like why the neck is so thick (to support that heavy head and horn)—makes your artistic decisions much smarter. The more you understand the underlying structure, the more natural and “alive” your final artwork will appear to the viewer.
Drawing a Rhino in Motion
Static poses are great for learning, but drawing a moving animal is more exciting. To draw a rhino that looks like it is charging or walking, focus on the tension in the muscles. A walking rhino will have one leg lifted, with the body weight shifted slightly toward the opposite side. If the animal is charging, the head will be lowered, and the spine will form a dynamic, powerful curve. Focus on the “line of action”—an imaginary line that follows the spine—to give your drawing a sense of energy and kinetic movement that static portraits lack.
The Importance of Negative Space
When you draw a rhino, look at the space around the animal as much as the animal itself. This is called negative space. For example, the triangle of space created between the front and back legs helps define the shape of the body. By keeping an eye on these open areas, you can check if your proportions are balanced. If the negative space looks awkward or pinched, it often means your positive lines—the animal itself—are misplaced. Using negative space is a pro-tip for artists to ensure their subjects are correctly framed and proportioned on the page.
Choosing the Right Drawing Tools
Your tools influence your results. If you are learning to draw a rhino for the first time, a medium-grade pencil (like an HB or 2B) and a good eraser are your best friends. They allow you to build up layers and correct mistakes without damaging the paper. As you progress, you might experiment with charcoal for deeper shadows or fine-liners for crisp outlines. There is no “perfect” tool, but starting with basics keeps you focused on form and light rather than getting distracted by complicated media before you have mastered the fundamental anatomy of the beast.
Common Mistakes to Avoid
Many people who draw a rhino forget the folds. They draw a smooth cylinder, which looks like a plastic toy rather than a living animal. Another common error is failing to make the horn look like it is coming out of the nose properly. Take time to look at the perspective—the horn shouldn’t just be a flat triangle added at the end; it should follow the angle of the face. Lastly, avoid rushing the legs. They are the base of the animal, and if they are drawn too quickly or sloppily, the whole drawing will feel off-balance and disconnected.
Developing Your Own Artistic Style
Once you can accurately draw a rhino, start playing with your own style. Do you prefer clean, minimalist lines, or heavy, expressive shading? Some artists exaggerate the curves to make the animal look more formidable and “cartoonish” but full of character. Others focus on hyper-realism, aiming to capture every single skin fold. Your style is how you interpret what you see. Don’t feel pressured to mimic a photograph perfectly. The goal is to draw a rhino that represents your unique perspective while still honoring the fundamental structure and power of this iconic African mammal.
Drawing a Rhino for Storytelling
Animals are great characters. When you draw a rhino for a story, think about its environment. Is it in the dry savanna grass, or near a watering hole? Adding a bit of ground, a few blades of grass, or even a shadow cast on the earth can tell a story. An animal standing alone on a white background is an anatomy study; an animal interacting with its surroundings is a piece of art. Even simple background elements ground your drawing, giving it context and making it much more engaging for anyone who happens to look at your finished piece.
Practicing Patience and Consistency
It takes time to draw a rhino well. Do not get discouraged if your first attempt doesn’t look quite right. Even professional wildlife artists spend hours studying and practicing before they get the proportions exactly where they want them. Keep a sketchbook, and try drawing the animal from different angles—side view, front view, or three-quarter view. Consistency is the key to improvement. Every time you pick up your pencil, you are building muscle memory and a better understanding of form. Keep practicing, and you will see your skills grow with every page you fill.
Lessons from Historical Representations
Looking at how others draw a rhino throughout history is fascinating. For instance, Albrecht Dürer’s famous 1515 woodcut depicted the animal as if it were wearing armor plates. While not anatomically perfect, it shows how artists can interpret nature through their own cultural lens. Studying historical art reminds us that there is more than one way to draw a rhino. You don’t have to be a photographer; you are an artist. You have the freedom to emphasize certain features to create a more powerful or interesting image, just as artists have done for centuries before you.
Final Review and Polishing
Before you consider your drawing complete, take a step back and look at it from a distance. Sometimes, sitting too close to the paper makes you miss the overall balance. Does the weight feel correct? Are the features proportionate? If you find areas that feel weak, don’t be afraid to go back in and refine your lines or add a bit more shadow. A successful drawing of this massive creature is one that feels grounded, powerful, and alive. Once you are satisfied, you have successfully met the challenge and created a piece of art to be proud of.
Exploring the Rhino’s World
As you continue to draw a rhino, remember that these creatures are a vital part of our ecosystem, and learning about them adds a layer of depth to your work. Whether you are creating a simple sketch or a detailed portrait, understanding the anatomy and the spirit of the animal improves your artistic output.
- What is the best starting point for a rhino drawing?
- Begin with a construction sketch using simple shapes like rectangles for the body and a wedge for the head to establish proportions.
- How do I make a rhino look heavy?
- Use confident, thick lines, anchor the feet firmly to the ground, and emphasize a slightly sagging belly.
- How should I draw the skin folds?
- Focus on areas like the neck and leg joints, using varied line weights to suggest the thickness and depth of the hide.
- What is the most important feature to get right?
- The horn and the overall body proportions are the most recognizable features that define the rhino’s silhouette.
- Can I draw a rhino in different styles?
- Yes, you can adapt your approach from realistic, anatomical studies to stylized, expressive cartoons depending on your personal artistic goals.